Building D-Day
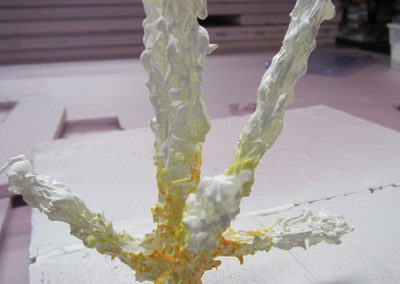
Creating water explosion
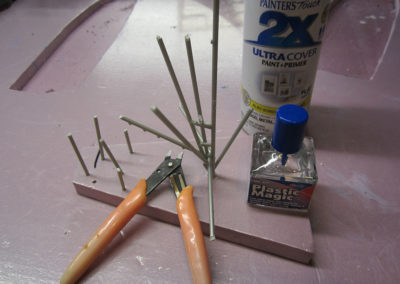
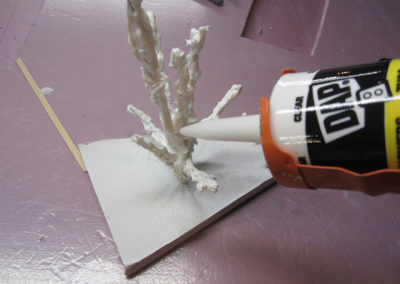
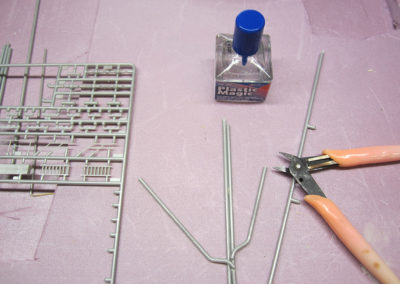
Cutting up and positioning plastic sprue from old model kits as the frame for Acrylic caulk to build the explosion
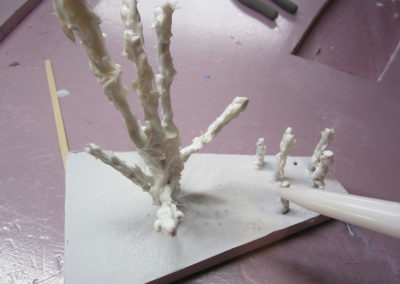
Creating explosions in the water
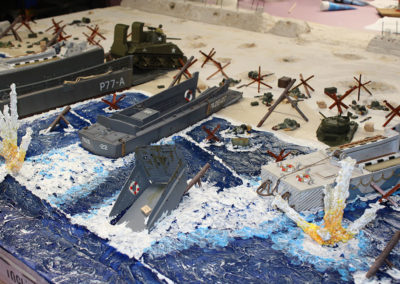
I glued together multiple pieces of plastic sprues from old model kits at different angles and covered them in Bathroom acrylic caulk, then painted whites and orange/yellows to depict water explosions.
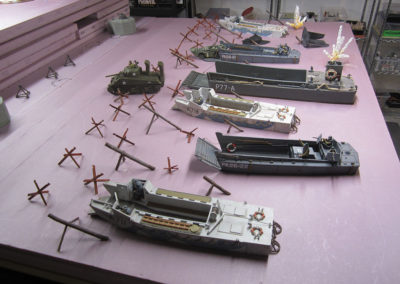
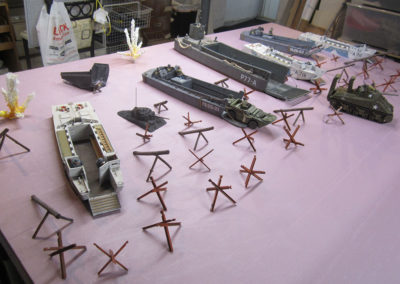
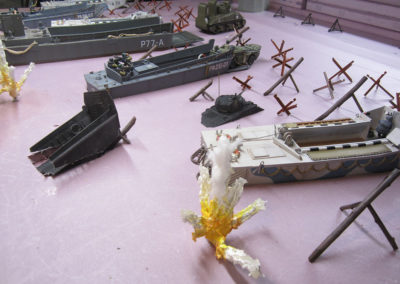
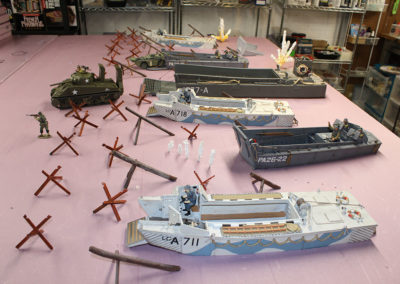
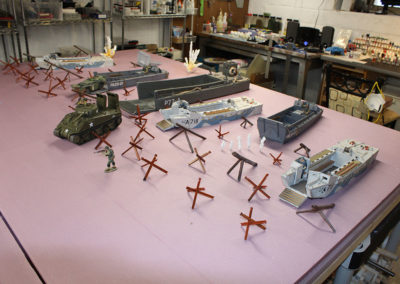
Beach mock up
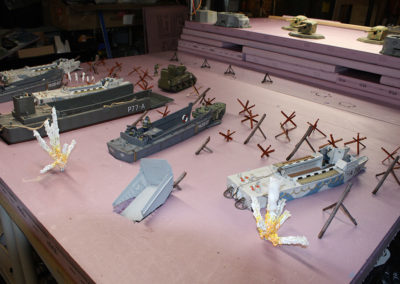
Placing the elements for perspective. Note the sunk landing craft being prepared for its “sinking”
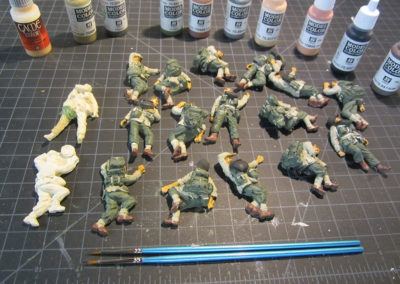
Creating the dead GI’s for the beach
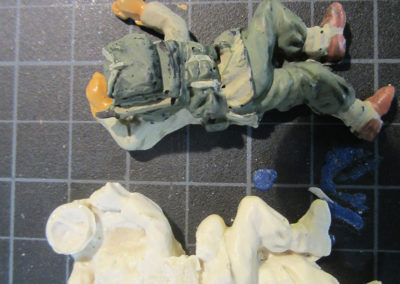
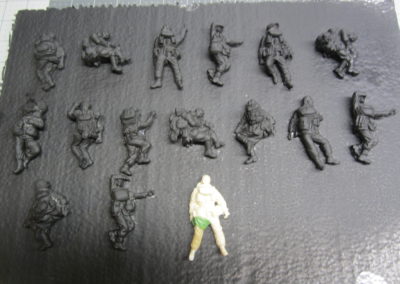
As there are not many dead GI’s produced by the various manufactures, I had to make many of my own. I took 8 King and Country dead Germans, cast them in plastic, and then cut off and repositioned heads , arms and legs, then sculpted and attached US GI equipment and recast them to produce the 2 dozen versions I needed. I then painted them with acrylics for the beach scene.
Detailing the beach section for “Saving Pvt Ryan” Diorama
Mock up and positioning the beach scene to get the right visual perspectives
Detailing the beach section for “Saving Pvt Ryan” Diorama
An addition of a vehicle and figure for visual scale during mock up stage
Mocking up the beach section for “Saving Pvt Ryan” Diorama
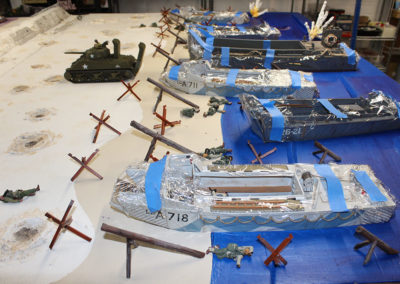
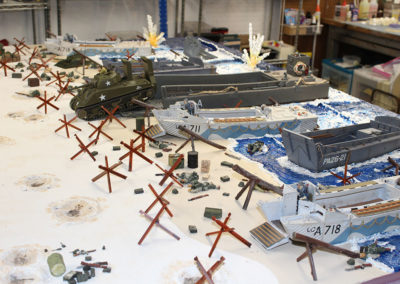
I spent several hours moving around the pieces to get the best visual perspectives of the boats and obstacles on the beach section. Careful planning can preclude a lot of “Oh crap” moments later on
Detailing the beach section for “Saving Pvt Ryan” Diorama
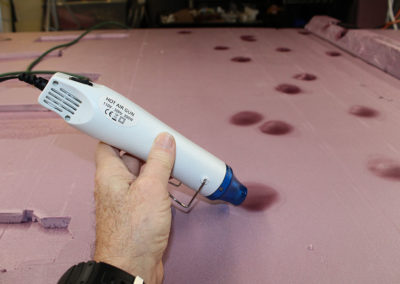
A cheap heat gun makes great shell holes in foam, along with other uses.
Detailing the beach section for “Saving Pvt Ryan” Diorama
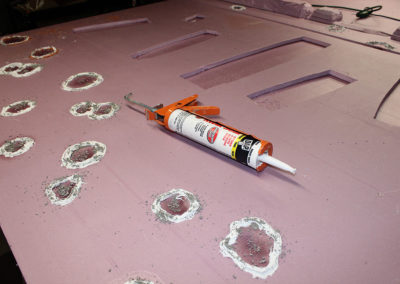
Used bathroom caulk covered with kitty litter to make some of the shell holes on the beach.
Detailing the beach section for “Saving Pvt Ryan” Diorama
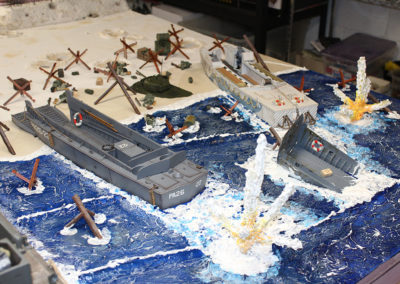
Building the beach base by cutting out each boat hull section so the they would sit in the surf at their water line. Used a heat gun and DAS clay to make the shell holes and sand mixed with color acrylics to paint the beach.
Detailing the beach section for “Saving Pvt Ryan” Diorama
As these King and Country boats are valuable collectors items, I wanted to protect them from the paint and Gel by wrapping them in cling wrap.
Detailing the beach section for “Saving Pvt Ryan” Diorama
Viewing the perspective of the beach before filling the scene with figures and vehicles
Detailing the beach section for “Saving Pvt Ryan” Diorama
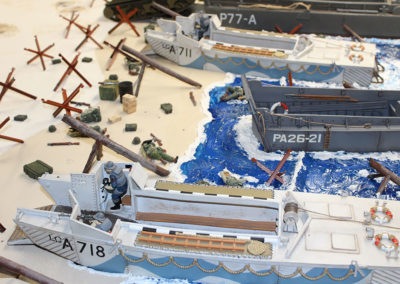
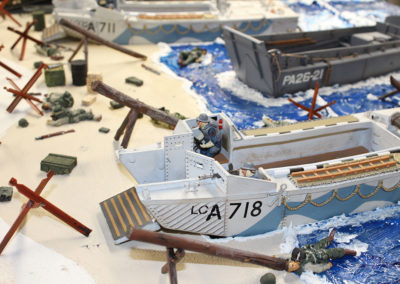
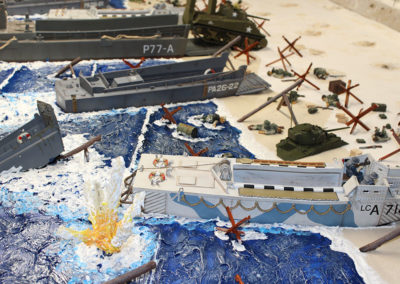
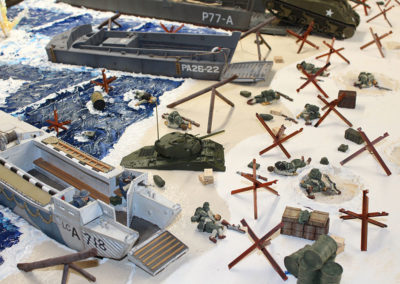
I wanted to create the sense of chaos along the beach with the dead bodies and abandoned equipment and weapons without making the scene too mccabe. In fact,thousands of bodies were on the beach after the first hour of the initial landing.
Detailing the beach section for “Saving Pvt Ryan” Diorama
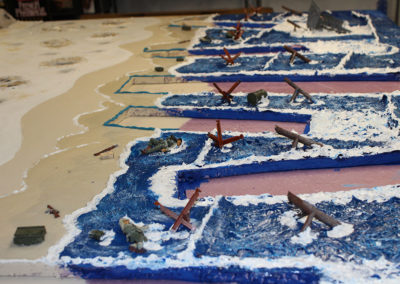
The waves are created by spreading the gel across strips of foam laid down prior to painting, In the future, I’ll make the waves more irregular rather than the uniform way they seem here,
Detailing the beach section for “Saving Pvt Ryan” Diorama
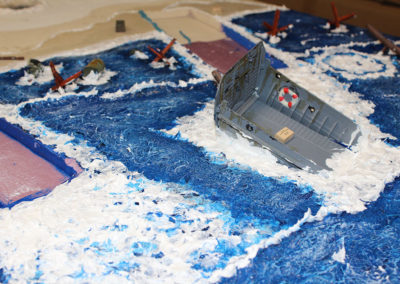
I simulated the boat wakes with the acrylic Gel and the choppy surf by tapping a spoon on the surface while spreading the gel.
Detailing the beach section for “Saving Pvt Ryan” Diorama
I actually made 2 dozen dead GI’s and several dozen obstacles for the beach scene. I also scattered many pieces of equipment, weapons, helmets and boxes that were strewn around across the beach as GI’s dropped what they were carrying as the Machine guns raked them from multiple positions.
Detailing the beach section for “Saving Pvt Ryan” Diorama
I used several different shades of Blue, white and grey to mix with the gel for the water. Growing up by the Ocean in NY and having seen the beach at Normandy, the water is always changing color depending on the time of day. I also used a dry brush technique to highlight the tops of the waves and swells.
Detailing the beach section for “Saving Pvt Ryan” Diorama
I outlined and cut out each boats hull section so that they fit into the water below the waterline and then used acrylic heavy gel from a craft store mixed with acrylic paint to make the water and surf. Note the half submerged obstacles and dead bodies and how the surf foams up around them.
Detailing the beach section for “Saving Pvt Ryan” Diorama
Used a landing craft found on eBay to depict a sinking landing craft hung up on a beach obstacle, I cut it apart , detailed and weathered it and inserted into a pre cut hole in the water. I used acrylic gel and paint to form the foam and surging water around the boat. Note the Verlinden C-Ration box left in the boat
Detailing the diorama surface for “Saving Pvt Ryan”
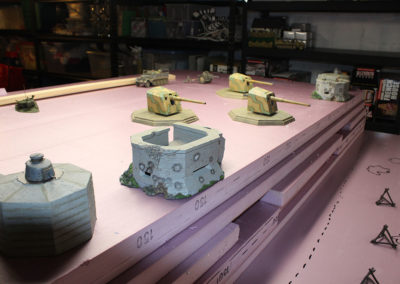
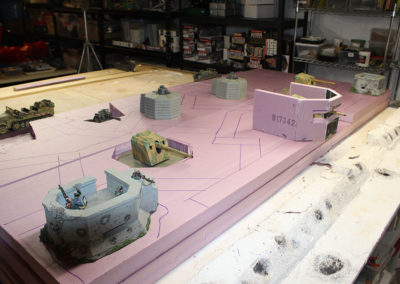
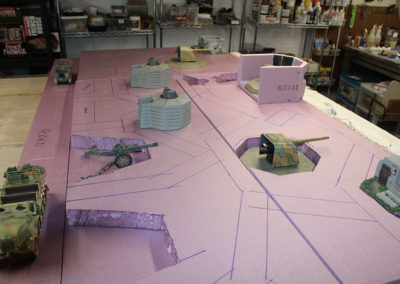
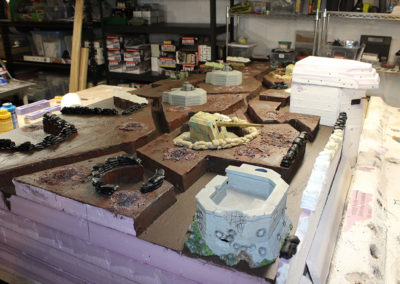
Determining where each piece should go for the German positions
Detailing the diorama surface for “Saving Pvt Ryan”
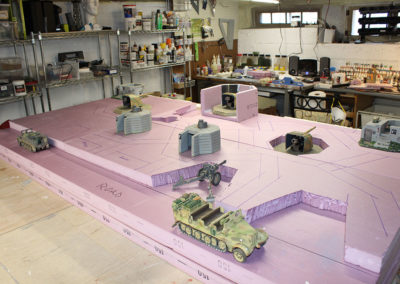
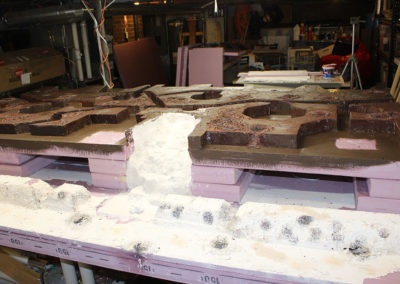
Before cutting out anything, spent several hours mocking up and moving elements around to determine different visual perspectives and choosing the best one. After satisfied, note using a maker to outline where the tranches would go to connect all the positions together
Detailing the diorama surface for “Saving Pvt Ryan”
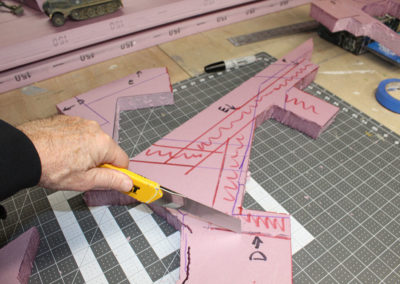
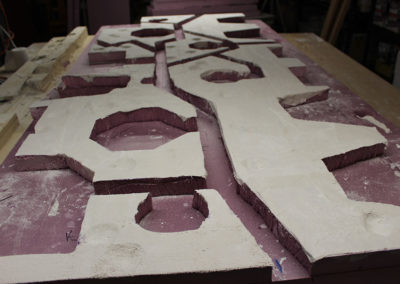
Used both a bladed knife and foam knife to cut out the sections.
Building the diorama surface for “Saving Pvt Ryan”
After laying out all the bunkers and artillery positions, determined where the trenches should be connecting everything and using a foam knife cut out the sections prior to gluing on.
Detailing the diorama surface for “Saving Pvt Ryan”
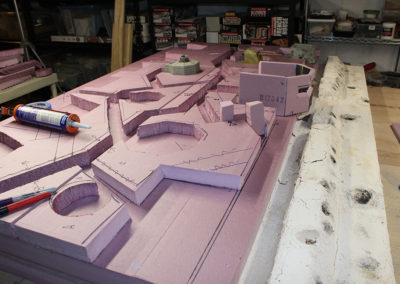
Using both a knife and foam cutter, shaped the German positions over looking the beach and then glued on with foam adhesive and covered in Plaster Cloth prior to detailing and painting
Detailing the diorama surface for “Saving Pvt Ryan”
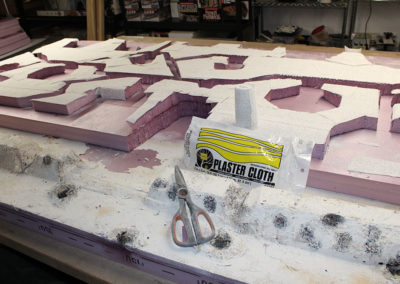
Building up the trench and bunker positions on the German Heights and covering with Plaster cloth for a rough ground texture
Detailing the diorama surface for “Saving Pvt Ryan”
Using DAS clay to detail the surface with shell holes
Detailing the diorama surface for “Saving Pvt Ryan”
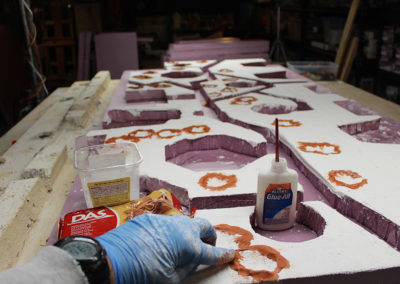
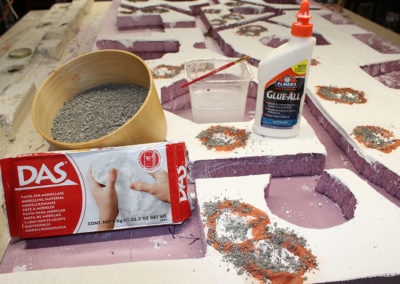
I used a cheap ($12) heat gun to make shell holes across both the beach and German positions to simulate the thousands of holes that actually peppered both in real life. I made rough circles of DAS clay and kitty litter to make the churned up earth around the shell hoses, then glued on with pasted down white glue prior to painting
Making the “Saving Pvt Ryan”gully
I used foam pieces to build up the gully surface before covering with spay on insulation foam and Plaster cloth
The “Saving Pvt Ryan” project under construction;l
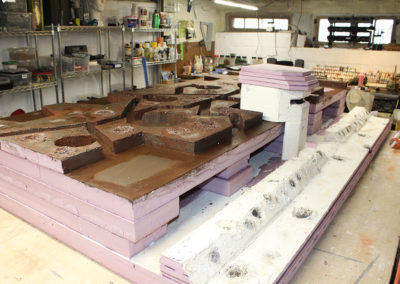
Because of the number of figures, vehicles and “stuff” on this diorama, I had to decide how best to build it, keeping in mind how to place everything without crawling across the top. As I can only reach 2 1/2 feet, I had to make it in 2 sections of 4′ wide with a length of 6 1/2 ft. Again note the foam joists adding height but not weight to this 50 sq feet diorama, which totalled only 40 lbs for ease of transportation and set up
Worktable construction process
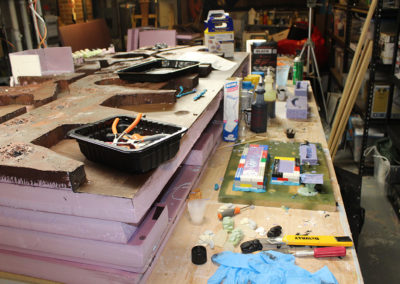
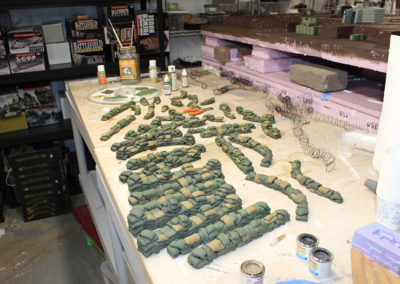
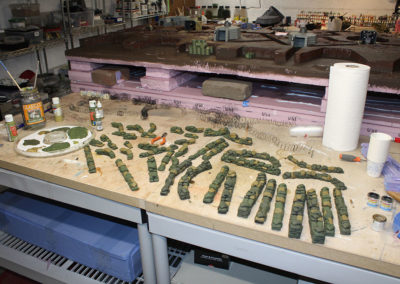
Here is typically what my work table looks like. I usually have 2 or 3 different mini projects going on at any given time on each diorama. Note I use legos to build my molds before casting them in resin or plastic.
Using plaster cloth to make the “Saving Pvt Ryan”gully
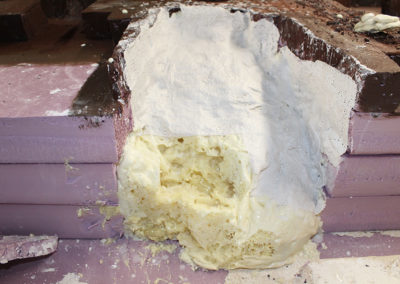
A look at Plaster Cloth over the sprayed insulation underneath
Using plaster cloth to make the “Saving Pvt Ryan”gully
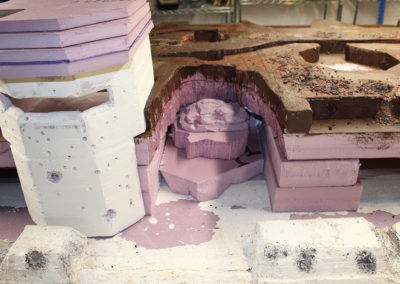
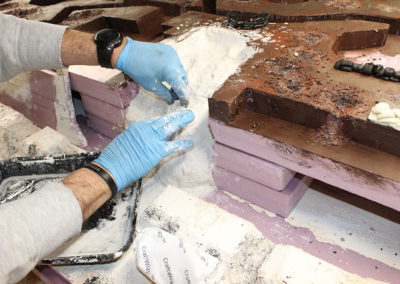
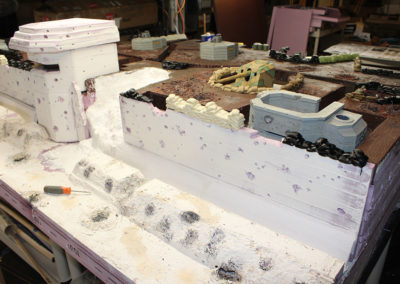
I used Plaster cloth to line the gully after first roughing out the shape with a knife. Note also how I built up the height of the German positions using foam board joists for stability and weight savings.
Making the gully from “Saving Pvt Ryan”
I wanted to include the gully scene from the movie where the Rangers charge up a gully to flank and destroy the main bunker covering the beach. I first roughed out the gully shape with a knife, then used spray insulation to build up the rocks, being careful to make small platforms to place the figures on, then covered in plaster cloth and sand, small stones and other details before painting
Diorama construction
I continually place the elements of my dioramas onto the base to ensure visual integrity as I’m building it. Its at this stage I often make changes as I get other ideas or a different perspective. That’s part of the fun of making these.
Building the Atlantic wall
I used 1.4″ pink foam board to construct both the wall and large main bunker. I covered each in Spakle to give it that concrete look and then used a plastic putty knife with a V-shaped notch cut into it to make the parallel sean lines seen on every concrete construction project. I used a screwdriver to make multiple sized holes that would simulate shell strikes that peppered the entire wall and bunkers.
Making Sandbags
AsI needed over 1000 sand bags for German foxholes and walls, I used Sculpey to Make several different sized sandbag sections, then made molds for each one. I cast dozens of different sections in resin and then spent hours painting each one in greens and tan acrylic hobby paint.
I converted 8 K&C German dead to dead GI’s by casting them in plastic, removing their equipment with a hobby knife, then sculpting and replacing with US equipment, cutting off and repositioning heads, arms and legs, then re-casting them again and painting with acrylic colors to depict dead GI’s
Converting K&C German dead into dead GI’s
Get In Touch!
952-283-9109
epatrickgallagher@gmail.com

